Cloud Functions でLINE Botサーバーを立ててみました。
LINE BOTアカウントの作成、LINE@MANAGERの設定は以下を参照
http://qiita.com/saitoryc/items/9f5833495d1e0453e052
AWS Lambdaの場合API Gatewayと併用しないといけないが、Google Cloud FunctionsだとHTTP Triger (HTTPS)でFunctionsを実行できるので、便利です。
LINE BOTサーバーはHTTPS通信できることが必要ですが、Cloud functions HTTP TriggerはHTTPSに対応済みなので、この点問題はありません。
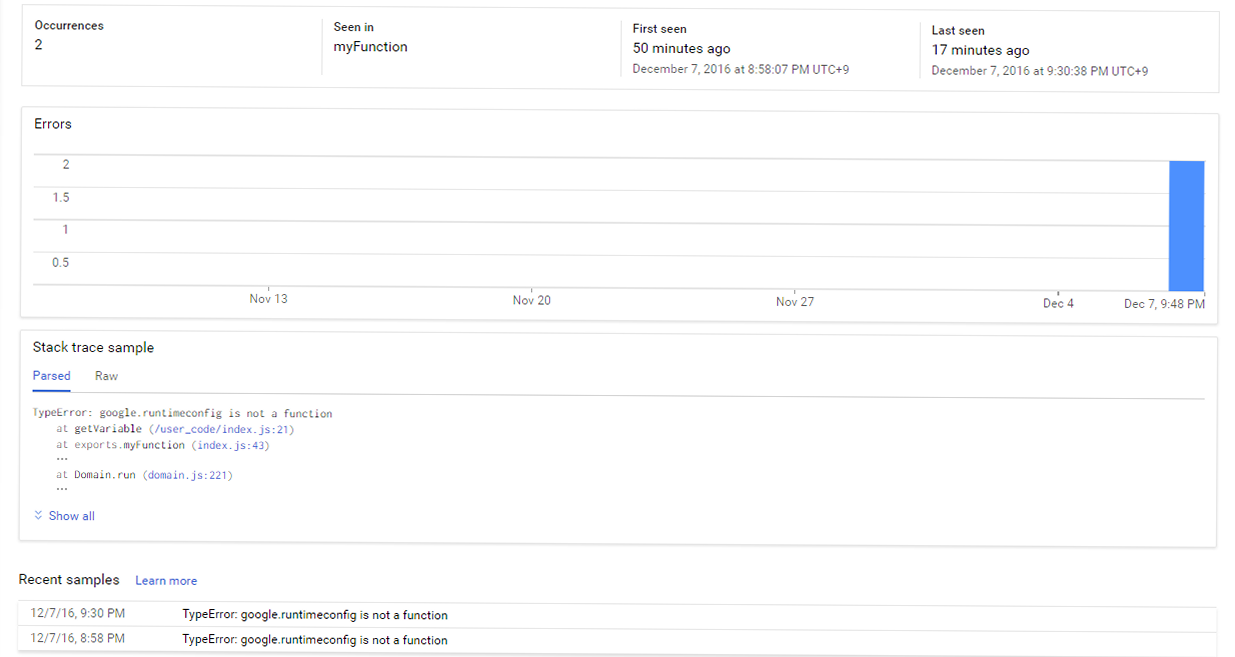
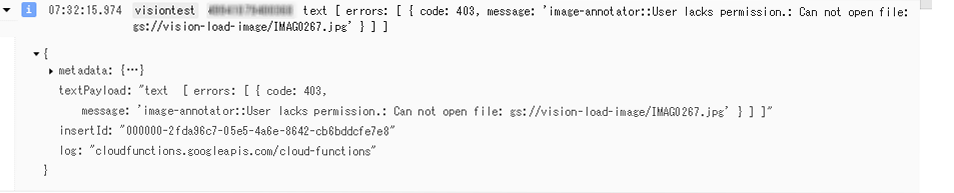
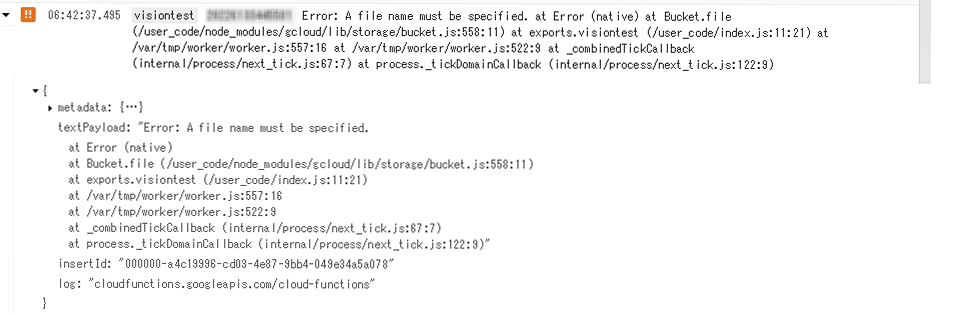
実際のコードですが、Cloud Functions用の引数に変更する点と、HTTP通信でMessageAPIサーバに送信する際、Content-Lengthヘッダーを付与するようにしています。付与しないとMessageAPIサーバーからBad Requestと返ってきます。この点、LINE developersのドキュメントには記載されていません。
var gcloud = require('gcloud')({
projectId: process.env.GCP_PROJECT
});
var https = require('https');
var channel_access_token = '[ACCESS TOKEN]';

exports.linebot = function (req, res) {
var json = req.body;
json.events.forEach ( function(message,index){
events = message;
});
var postData = {
"replyToken" : events.replyToken,
"messages" : [
{
"type" : "text",
"text" : events.message.text
}
]
};
var options = {
hostname: 'api.line.me',
path: '/v2/bot/message/reply',
headers: {
"Content-type": "application/json; charset=UTF-8",
"Authorization": "Bearer " +channel_access_token,
"Content-Length": JSON.stringify(postData).length
},
method: 'POST',
};

var req = https.request(options, function(res){
res.on('data', function(chunk){
}).on('error', function(err){
console.log(err);
}).on('end', function(){
console.log('finish sending text message');
});
});
var sendData = JSON.stringify(postData);
req.write(sendData);
req.end();
};
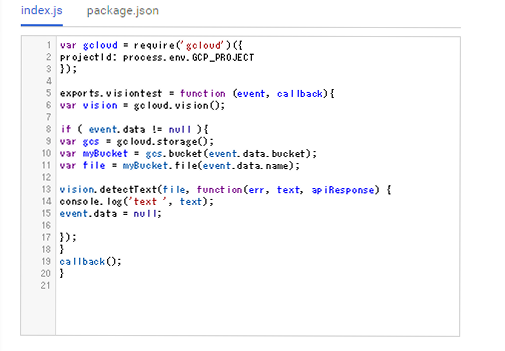
Cloud Vision APIとかGoogleAPIと連携も可能かと思われます。
Content-Lengthで文字数をカウントする際、postData.lengthの代わりにBuffer.byteLength (postData)で文字数をカウントすることで日本語とかも送信が可能になりました。